Bella’s Elevated Oven-Baked Bacon
Forget the splattery pan and the constant flipping; Bella’s Elevated Oven-Baked Bacon is the only way to achieve perfectly flat, edge-to-edge crispy strips without the mess. By using the “elevated” rack method, you allow hot air to circulate around the entire strip, essentially “air-frying” the bacon in the oven. This results in a superior crunch and allows the rendered liquid gold (bacon fat) to drip away into the pan for easy collection.
If there is one staple that almost every single carnivore relies on, it’s bacon! But let’s be honest: frying bacon on the stovetop can quickly turn into a total nightmare. Between grease splattering across your countertops, constant flipping, and strips curling up into unevenly cooked bits that are burnt on one side and rubbery on the other, it’s way too much effort for a morning routine.
After getting fed up with grease-covered stoves, I started making my bacon using the “elevated” oven-rack method, and I have never looked back. By placing a wire cooling rack directly inside a foil-lined baking sheet, you allow the hot oven air to circulate completely around every single strip—essentially “air-frying” the bacon in its own heat. This keeps every piece perfectly flat and gives you that irresistible, edge-to-edge shatteringly crisp texture without ever having to flip a single strip.
Best of all? As the bacon cooks, it drops all its rendered liquid gold directly into the foil-lined pan below. That pure bacon fat is an absolute treasure for an animal-based kitchen! Once the pan cools, you can pour that rendered fat right into a glass jar to store in your fridge. I use it throughout the week to sear my steaks, fry up my eggs, or coat chicken. It’s effortless, mess-free, and delivers perfect restaurant-quality bacon every single time.
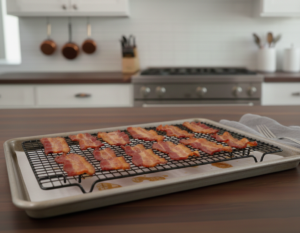
Why is “elevated” better than baking directly on the sheet? When bacon sits directly on a baking sheet, it “stews” in its own grease. While tasty, this often leads to spots that are chewy or soggy. By placing the bacon on a wire cooling rack set inside a rimmed baking sheet, the heat hits the top and bottom simultaneously, creating a uniform, “snap-able” texture.
Should I start with a cold or preheated oven? For the most consistent render, start in a cold oven. Lay your bacon on the rack, slide the tray in, and then set the temperature. As the oven heats up, the fat has more time to slowly melt (render) before the meat starts to crisp. This prevents the bacon from curling and ensures the fat is translucent and perfectly cooked.
What is the ideal temperature and timing? Set your oven to 400°F. Depending on the thickness of your bacon:
- Standard Cut: 15–20 minutes.
- Thick Cut: 20–25 minutes. Start checking around the 15-minute mark. Bacon goes from “perfect” to “burnt” very quickly once the sugar (if any) or proteins start to caramelize.
How do I prevent the oven from smoking? High-fat bacon can sometimes smoke at 400°F. If this happens, try lining the bottom of your baking sheet with parchment paper under the rack. This prevents the dripping fat from “popping” and burning against the hot metal pan.
The “Liquid Gold” Collection One of the best perks of this method is the clean, rendered bacon fat left in the tray. Once the tray has cooled slightly but the fat is still liquid, pour it through a fine-mesh strainer into a glass jar. Store it in the fridge; it’s the ultimate “free” cooking fat for searing steaks or frying eggs later.
Can I “bread” the bacon for extra crunch? If you want to take this to a “Bella-level” snack, you can dredge the raw strips in finely crushed pork rinds before laying them on the rack. The result is a double-pork “crunch-bomb” that is remarkably satisfying.
Are you working with a standard grocery store pack, or did you get some extra-thick, butcher-cut “slabs” to roast?
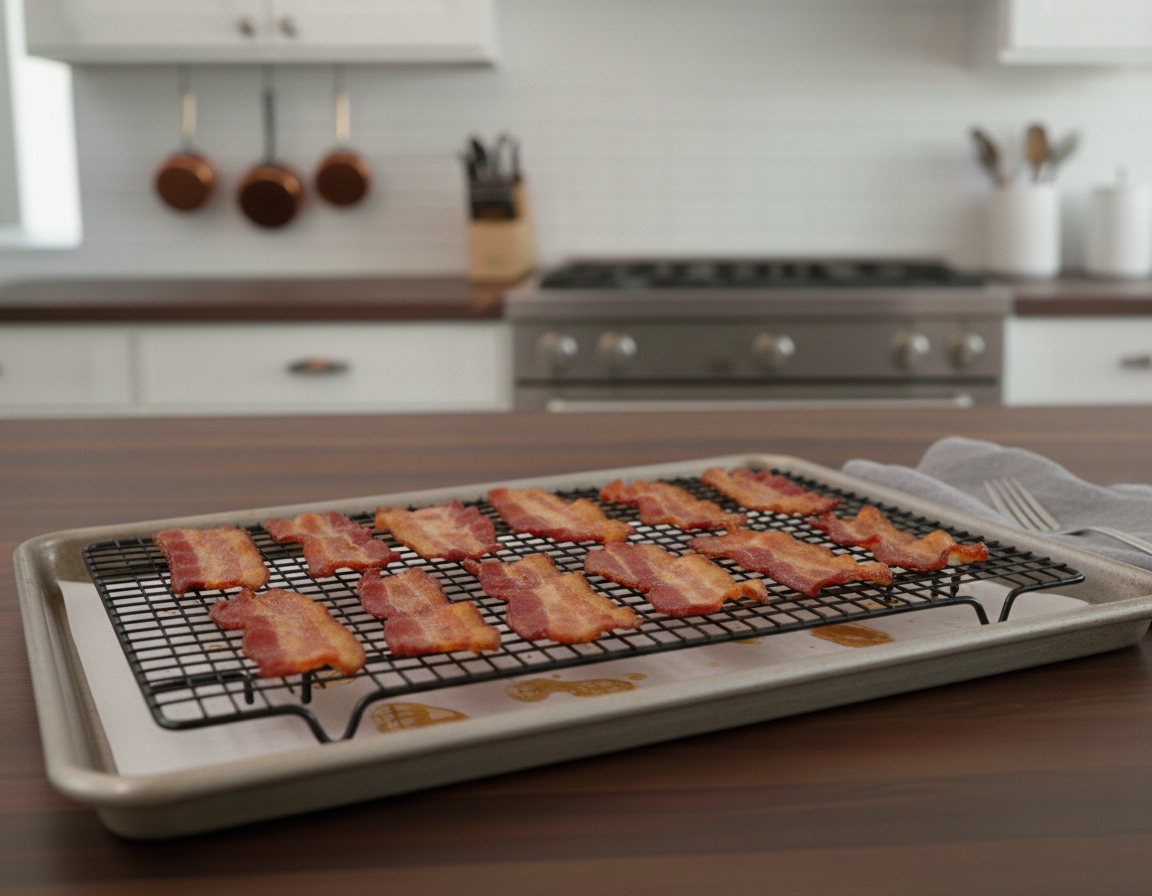
Bella’s Elevated Oven-Baked Bacon
Ingredients
- 1 –2 lbs bacon standard or thick-cut
Instructions
- Preheat and Prep: Preheat your oven to 375°F (190°C).
- Set Up the Tray: Line a large rimmed baking sheet with parchment paper to catch the drippings. Place a grated metal baking rack (wire cooling rack) directly on top of the parchment-lined sheet.
- Arrange: Lay the bacon strips across the wire rack in a single layer. It is fine if the edges touch slightly as they will shrink during cooking, but do not overlap them.
- Bake: Place the baking sheet on the center rack of the oven.
- For Chewy/Standard Bacon: Bake for 20 minutes.
- For Extra Crispy Bacon: Bake for 30 minutes, checking at the 25-minute mark to ensure the thinner ends aren't over-browning.
- Harvest the Fat: Carefully remove the pan from the oven. Using tongs, transfer the bacon strips to a plate. While the fat on the parchment paper is still liquid and warm, carefully lift the parchment (or tilt the pan) to pour the rendered fat into a glass jar or heat-safe container.
- Cool and Serve: Let the bacon sit for 2 minutes on the rack; it will continue to crisp up as it cools slightly.
- Storage: Store cooked bacon in a sealed container or zip-top bag in the refrigerator for up to 7 days.
- Pro Tip: Keep your jar of rendered bacon fat in the fridge. It is a superior, flavorful fat for searing steaks, frying eggs, or sautéing other proteins.
