Bella’s Cheesy Chicken Tenderloins
Chicken fingers were always one of those ultimate childhood comfort foods that felt impossible to recreate once I transitioned to a clean, animal-based lifestyle. Most restaurant versions are smothered in processed wheat flour and deep-fried in inflammatory seed oils, leaving you feeling heavy and sluggish instead of energized. But as someone who loves simple, zero-carb options that don’t compromise on flavor, I knew I had to invent a carnivore-approved version that delivered that exact same shatteringly crisp bite.
The real challenge with chicken tenderloins is that they are much leaner than chicken thighs, making them notorious for drying out in a flash. To fix this, I came up with a total game-changer: the ultimate “fat-jacket.” By dipping the raw tenderloins in a rich blend of melted butter or egg wash and coating them generously in freshly grated cheddar and crushed pork rinds (pork panko), you create an insulating barrier. This cheesy, high-fat layer crisps up beautifully in a hot pan loaded with beef tallow, locking all the moisture inside so the white meat stays impossibly tender.
When I served these hot out of the skillet to my husband at “Bella’s Cafe,” he devoured them in minutes—dipping each bite into a quick homemade spicy chili mayo. They have that satisfying, salty crunch that instantly takes you back to childhood, but without a single gram of flour or seed oil. Whether you’re making a quick lunch, looking for an easy appetizer for game day, or feeding picky kids, these tenderloins prove that eating 100% animal-based can feel like an absolute treat every single day!
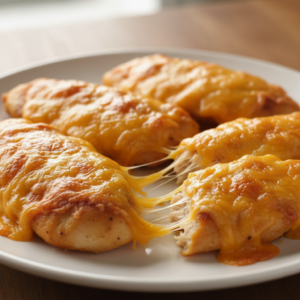
The “Double-Glue” Breading Method
Standard breading falls off, but this carnivore method creates a crust that grips the meat:
- The Glue: Dredge your tenderloins in a bowl of whisked eggs or, for a richer flavor, a coat of softened heavy cream cheese.
- The Crunch: Press the coated chicken into a mixture of 50% finely crushed pork rinds (pork panko) and 50% finely grated Parmesan cheese.
- The Chill (Optional): If you have time, let the breaded tenders sit in the fridge for 10 minutes before cooking. This helps the “crust” bind to the protein so it doesn’t flake off in the pan or air fryer.
Cooking Methods
| Method | Temp | Time | Why choose it? |
| Air Fryer | 400°F | 8–10 mins | Best for a mess-free, “deep-fried” crunch. |
| Pan-Fry | Medium | 3–4 mins/side | Use butter or tallow for a rich, buttery finish. |
| Oven Bake | 425°F | 12–15 mins | Best for making a huge batch for meal prep. |
Pro-Tips for Perfection
- Don’t Overcook the Tenders Chicken tenderloins are very thin and have almost zero fat. They cook much faster than breasts or thighs. Pull them as soon as they hit 160°F (they will carry over to 165°F while resting). Even two extra minutes can turn them from juicy to “rubbery.”
- The “Cheesy Top” Finish If the breading isn’t cheesy enough for you, sprinkle an extra layer of shredded mozzarella or sharp cheddar over the tenders during the last 2 minutes of cooking. Let it bubble and brown until it forms a “cheese skirt” around the chicken.
- The Dipping Sauce To keep it carnivore, skip the honey mustard and BBQ sauce. Serve these with a side of warm melted butter, sour cream, or a yogurt-blue cheese dip (if you tolerate dairy).
- Handling the “Tendon” Tenderloins have a small, white, tough tendon sticking out of the top. You can remove this by holding the tip of the tendon with a paper towel and pushing the meat down with a fork—it should slide right out, leaving you with nothing but tender meat.
Do you prefer the “Pork Panko” crunch for a traditional breaded feel, or are you looking for a “Melty Cheese” style where the tenders are smothered in a sauce?
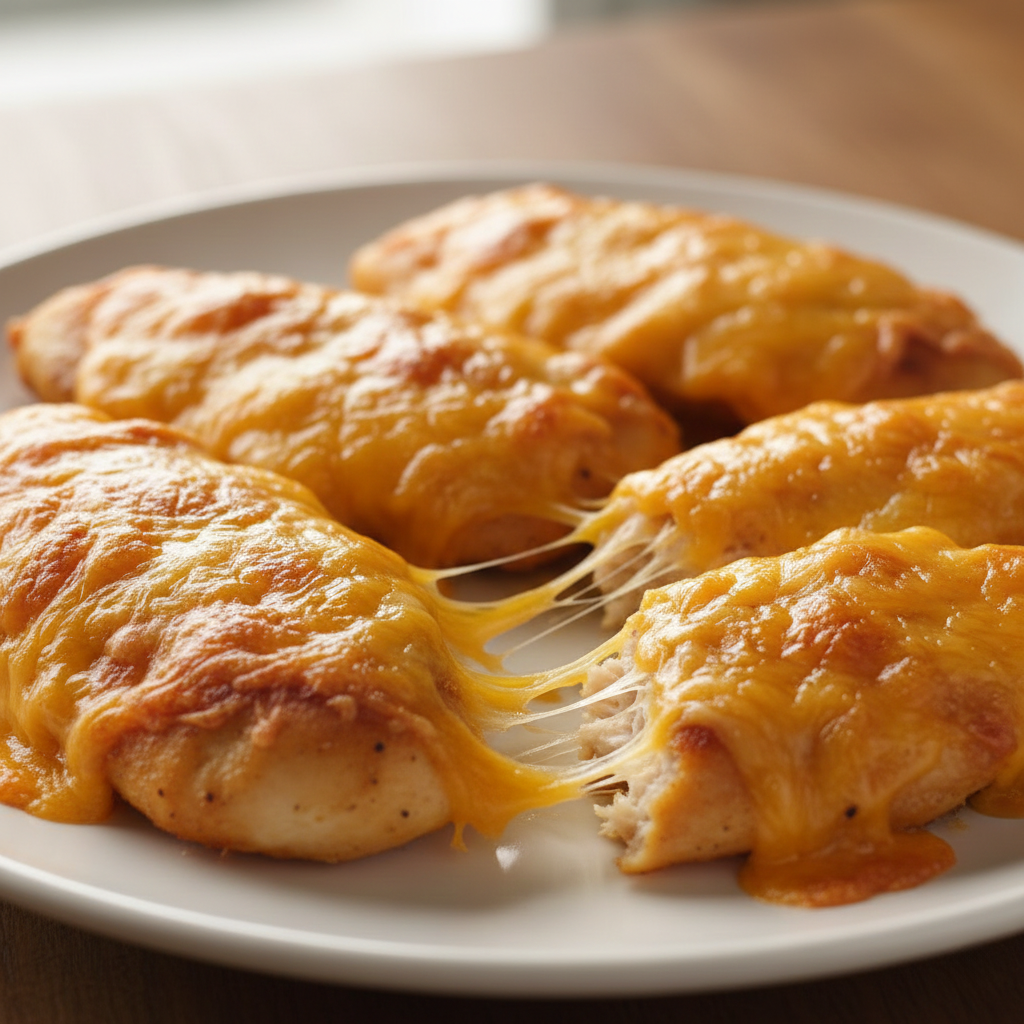
Bella’s Cheesy Chicken Tenderloins
Ingredients
- 1 lb chicken tenderloins or chicken breast sliced into 1-inch strips
- 1 tablespoon grass-fed butter or beef tallow
- 4 –6 slices of your favorite cheese such as sharp cheddar, provolone, or monterey jack
- Salt to taste (optional)
Instructions
- Heat the Pan: Place a large heavy-bottomed skillet or cast-iron pan over Medium-High heat. Add the 1 tablespoon of butter or tallow and swirl to coat the bottom of the pan once melted and shimmering.
- Sear the First Side: Place the chicken tenderloins in the pan in a single layer. Ensure they are not crowded to allow for a proper sear. Cook for 3 minutes without moving them, until the bottoms are opaque and lightly golden.
- Flip and Finish Cooking: Using tongs, flip each tenderloin. Cook the second side for an additional 3 minutes.
- Melt the Cheese: Once the chicken is cooked through (juices run clear), immediately place the cheese slices over the top of the tenderloins, overlapping them to cover as much surface area as possible.
- Steam-Melt: Place a tight-fitting lid over the pan and turn off the heat (or drop to low). Let the pan sit for 1–2 minutes. The residual heat and trapped steam will melt the cheese into a velvety layer that clings to the chicken.
- Serve: Use a spatula to remove the cheesy clusters from the pan. Serve immediately while the cheese is stretchy.
- Storage: Store leftovers in an airtight container in the refrigerator for up to 4 days.
- Reheating Tip: Reheat gently in a covered skillet over low heat with a splash of water to keep the chicken moist and the cheese creamy.
